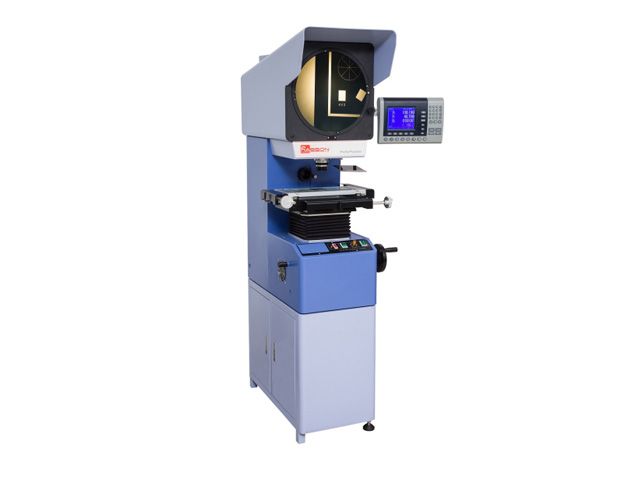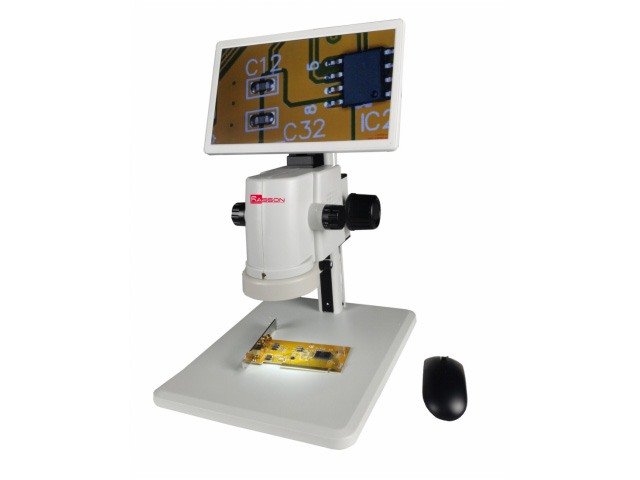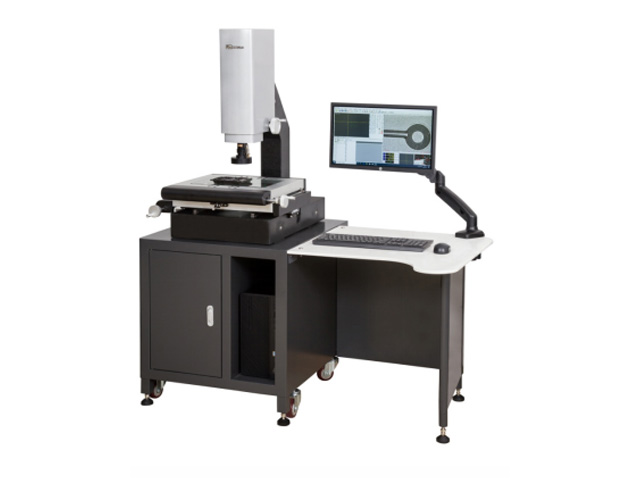
EG Series Flash Measuring Machine
As a pioneer of using one-key measuring technology in China, Suzhou EASSON has developed a new product of EG series flash measuring machine, adopted the new concept of rapid measurement instead of the traditional measuring method of XY coordinate table movement. Through the perfect combination of telecentric imaging and intelligent image processing software, any complex measurement task will become extremely simple. Just place the workpiece on the stage, and then gently press one key, all dimensions of the workpiece will be tested instantly.
Batch measurement only requires two steps:
Set the measuring items and tolerances of the workpiece, save the continuous placement of the workpiece, and press one key to complete all the project measurements.
Large field of view overall imaging, one-key measurement:
For the traditional measuring machines, such as vision measurement machine, tool microscope, profile projector etc, due to the narrow field of view, it is difficult to grasp the next measurement position when do the measuring and setting, also it is extremely time-consuming as you need to move the coordinate table to perform the measurements one by one. The maximum imaging range of the fast optical image measuring machine is up to 250mm, so while the workpiece size is within this range, it can be imaged as a whole, all sizes can be measured at once by pressing one key, and the measurement task can be completed instantly.
No fixtures are needed to fix the workpiece, which can be placed arbitrarily:
The accurate automatic registration algorithm, you only need to register the workpiece pattern for the first time, then you can place the workpiece at any place and angle, the registration algorithm can lock the position of the workpiece, unlike the other traditional measuring machines, which need to use the fixtures every time.
Measure multiple workpieces at the same time:
Same type of multiple workpieces can be placed on the stage at the same time, and also there are no requirements for the placement and angle. The software will lock the position of each workpiece and measure at the same time, which greatly improves the measurement efficiency.
Large depth of field, no need to adjust focus:
The maximum depth of field is up to 200mm, which is currently the largest depth of field in the industry, as long as the height of the measured workpiece is within the depth of field, without any focus, the whole workpiece can be clearly imaged up and down.
|
Model |
Vertical EG Series |
|||
|
EG60 |
EG90 |
EG100 |
EG150 |
|
|
Measuring Range (mm) |
60×45 |
90×70 |
100×80 |
150×100 |
|
Measuring Accuracy (µm) |
±3 |
±3 |
±5 |
±5 |
|
Repeat Accuracy (µm) |
±1 |
±1 |
±1 |
±1.5 |
|
Depth of field (mm) |
30 |
50 |
80 |
100 |
|
Image sensor |
20 million pixels |
|||
|
Lighting system |
LED parallel light source (standard) / surface multi-angle LED ring light source (optional) / surface LED coaxial light source (optional) |
|||
|
Software |
EG image measurement software |
|||
|
Dimension (L x W x H cm) |
25×45×70 |
90×75×185 |
||
|
Working environment |
Temperature: 5~35℃,Humidity: 20%~80% (No condensation) |
|||
|
Warranty period |
1 year |
|||
|
Model |
Vertical EG Series |
||||
|
EG200 |
EG3020 |
EG4030 |
EG10030 (Double Vision) |
||
|
Measuring Range (mm) |
210×150 |
300×200 (Split Joint) 100×80 (Single Vision) |
400×300 (Split Joint) 100×80 (Single Vision) |
100×80 |
30×20 |
|
Measuring Accuracy (µm) |
±5 |
±(5+0.02L) |
±(5+0.02L) |
±5 |
±1 |
|
Repeat Accuracy (µm) |
±2 |
±(1+0.02L) |
±(1+0.02L) |
±1 |
±0.3 |
|
Depth of field (mm) |
100 |
80 |
80 |
30 |
3 |
|
Image sensor |
20 million pixels |
||||
|
Lighting system |
LED parallel light source (standard) / surface multi-angle LED ring light source (optional) / surface LED coaxial light source (optional) |
||||
|
Software |
EG image measurement software |
||||
|
Dimension (L x W x H cm) |
90×75×185 |
25×45×80 |
|||
|
Working environment |
Temperature: 5~35℃,Humidity: 20%~80% (No condensation) |
||||
|
Warranty period |
1 year |
||||
Recommended


